Kid Friendly Baking: Spring Bird Nest
Guest Blog Post by: Kate Sigafoos
Baking with your kids is a wonderful way to spend time together. Kids learn math, science, and patience and parents get dessert out of the whole shebang. A total win-win.
When my first child approached toddlerdom, I jumped into baking with her as soon as I could. Too bad it turned out to be a bit too soon for the recipes I had. There were either tons of steps, tons of stove time, or tons of kitchen gadgets she could not yet use. That was the case… until we started making coconut macaroons. One bowl, mix with hands, blob on a cookie sheet, done. Perfect for a 2 year old.
There is another reason to love these treats: you can make them into pretty much any shape you want. We have made ghosts and trees by hand, but you can also pack the dough into any cookie cutter you have to get the shape you want.
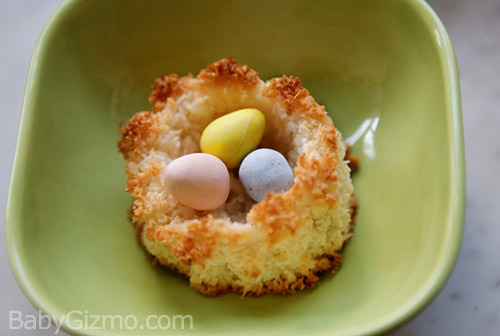
Our favorite things to make out of the macaroon dough are birds’ nests. Once baked, the sweet little treats make a perfect bowl for a few jellybeans, M&M’s, or speckled egg candy. Use these as a dessert for a spring dinner and you just combined kid craft, dessert, and décor all in one shot. Now THAT is a win-win-win.
Ingredients:
2 ½ cups unsweetened coconut flakes
¾ cup sugar
2 egg whites
½ tsp vanilla extract
½ tsp almond extract
Pinch of salt
Directions:
1. Preheat oven to 350 degrees.
2. Get out nonstick baking sheet or line sheet with parchment.
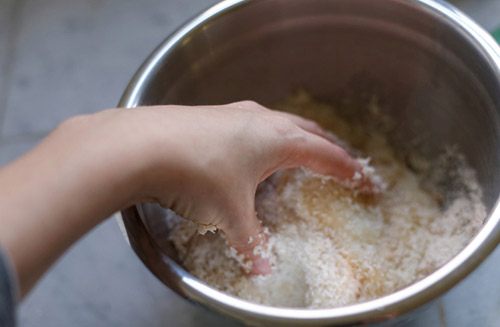
3. Put all the ingredients in a bowl.
4. Smush it up with your hands. Smush is a technical term I learned from watching Julia Child, by the way. It is French.
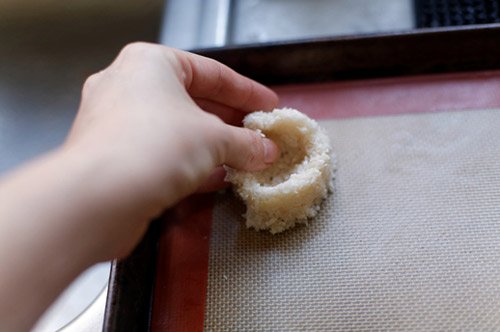
5. Grab about 3 TBS worth of dough and plop it onto a baking sheet. This amount is pretty flexible so don’t feel the need to measure precisely. Wet your fingers and mold a bowl shape out of the dough. Wet fingers allow you to pack the dough together better, so keep wetting them as needed until all the bowls are formed.
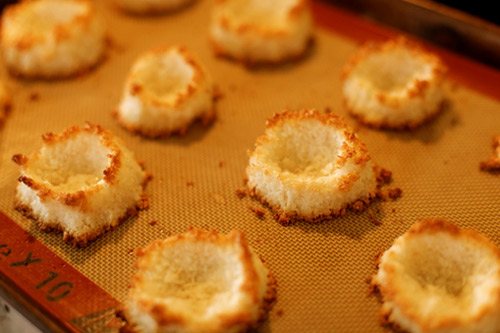
6. Bake for 15 minutes or until golden brown. The rim of the bowls will brown fastest because of the shape, so keep an eye on them to avoid burning.
7. Remove from oven and let cool for 30 minutes. It sounds like a lot of time to wait, but every one of those minutes lets the cookies firm up and stick together.
8. Add a few egg like treats and – ta da! – your décor/craft/dessert trifecta is complete.




I am absolutely going to make these with my kids. Cute!
Great tips, thanks for the new idea! I agree that so many times recipes are not toddler friendly. Would love to hear more toddler friendly recipes because both of my kiddos love to “help” in the kitchen and I always feel so bad when the recipe requires too much that they cannot do.
So cute! Need to try this for Easter!
How cute!
Super cute. Perfect little spring cookie.
So cute and fun!
How fun! And delish! Also fun to learn a new French cooking word 😉
What a fabulous idea! My daughter will love to get her hands on these!
My great aunt used to make us something like this around easter. Now I’m all nostalgic and HAVE to make these!
These look easy and would be fun to make with my nieces. Plus it’s a great excuse to eat Robins eggs, yum.
I thought perhaps whipping egg whites would be a required step but these are so easy! Must try them 🙂
yes please! yum!
Cute. Can’t wait to do these for Easter!
This is such a great idea. Would love to see more from her.