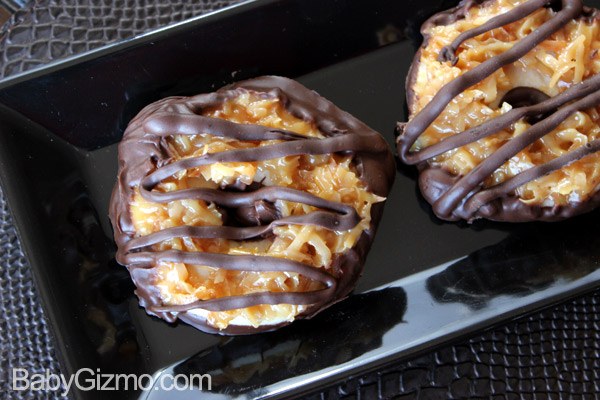
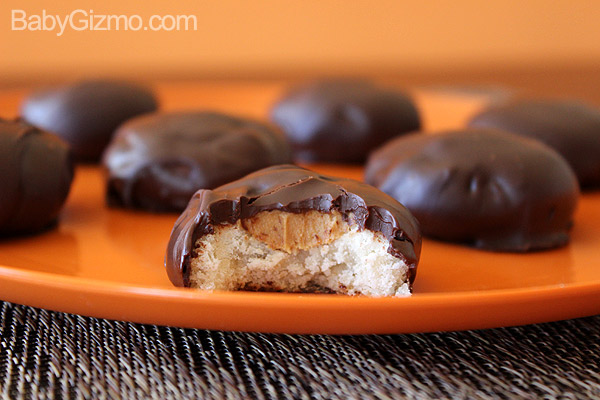
Homemade Girl Scout Samoa Cookie Recipe
Seriously, I can’t stop. First, the Thin Mints and then the Tagalongs. And now the Samoas (aka Caramel deLites)! I swear I’m not trying to affect the Girl Scout cookie sales at all, but people, these homemade versions are GOOD! As in BETTER than the boxed versions! I’m sorry, girls in scout uniforms, but these homemade versions are seriously so good. I didn’t realize how much the boxed cookies tasted a little like preservatives (or whatever that taste is!) until I actually made my own.

I hate to say it but once you make these homemade Samoa cookies, you may never want to buy a box again. I know, I know, that is terrible to say because girls need to go to Girl Scout camp! I get it! So, let’s make a pact – you’ll buy the boxes for other people but you’ll make the homemade ones for yourself and the people you *really* like. Okay? 🙂
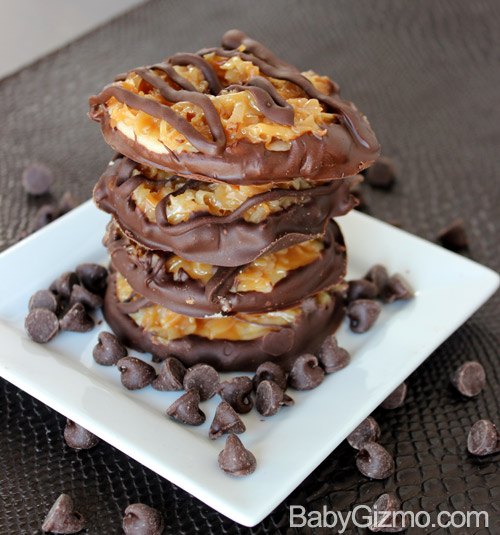
These Samoa cookies aren’t too hard to make but they are a little time consuming because you have to make the shortbread cookies and then top them with the caramel and coconut layer and dip in chocolate. Believe me, it’s so worth it!
If you make these, you must come back and tell us how you like them! My friends and family who don’t really like coconut even LOVE these! Yep, they are that good! Just because these homemade versions are THAT good, PLEASE don’t stop supporting the Girl Scouts! It’s a great organization for girls!!! Buy those boxes of cookies! Just give them to the people you don’t like as much! 😉
Cookie Ingredients
1 cup butter, softened
1/2 cup sugar 2 cup all purpose flour
1/4 teaspoon baking powder
1/2 teaspoon salt
1/2 teaspoon vanilla
1-2 tablespoons milk
Topping Ingredients
3 cups shredded coconut (I used sweetened Bakers coconut)
12 ounces chewy caramels
1/4 teaspoon salt
3 tablespoon milk
18 ounces dark or semi-sweet chocolate (I used 1 1/2 packages of semi-sweet chocolate chips)
Preparation:
1. Preheat to 350 degrees F. In a large mixing bowl, cream together butter and sugar. Add in flour, baking powder, salt and vanilla at a low speed. Dough will be crumbly. Add 1 tbsp of milk at a time to make the dough come together as a ball of cookie dough without being too sticky. If it gets to sticky, add a bit more flour.
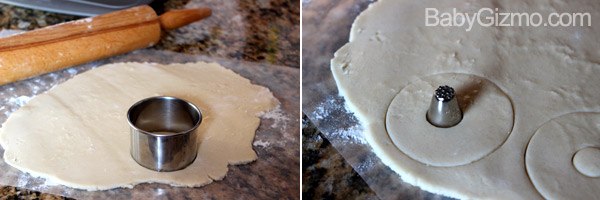
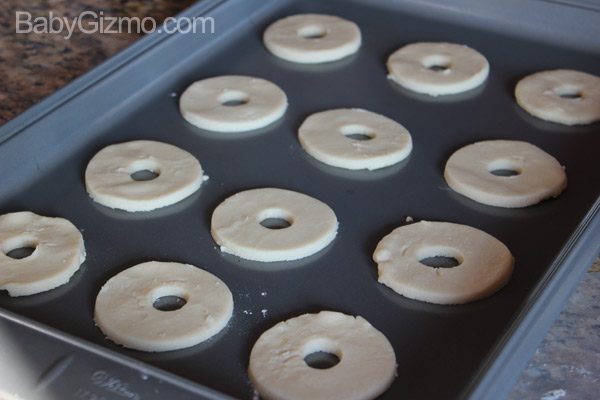
2. Separate the dough into two even parts. Working with one dough part at a time, roll the dough out with a rolling pin or side of a cup to about 1/4-inch thickness. Use a 1 1/2-inch cookie cutter (or biscuit cutter) to make dough rounds. Place on a baking sheet (preferably with parchment paper but I didn’t have any!) and use a knife (or I used one of the Wilton decorating tips) to cut a smaller center hole from the dough rounds. Repeat with remaining dough.
3. Bake cookies for 10-12 minutes, until bottoms are lightly browned and cookies are set.
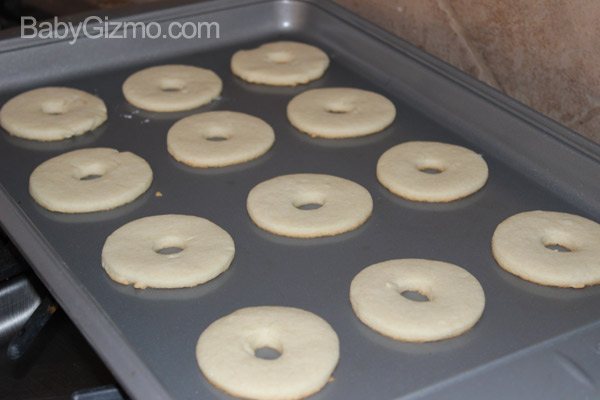
4. Cool for a few minutes on the baking sheet then transfer to a wire rack to cool completely.
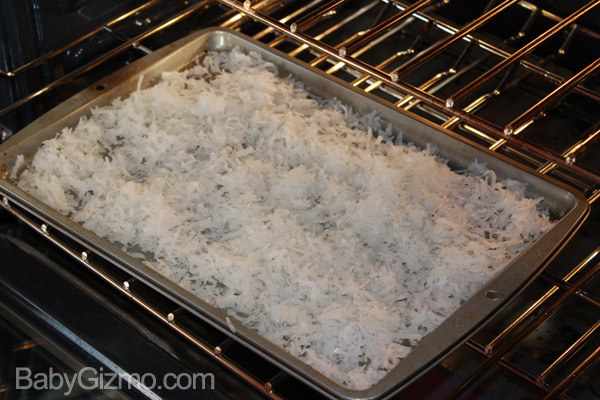
5. While cookies are cooling, preheat oven to 300 degrees. Spread coconut evenly on a parchment-lined baking sheet (again, I didn’t have any so it’s fine if you don’t use the parchment paper!) and toast 20 minutes, stirring every 5 minutes, until coconut is golden. Set aside and cool on baking sheet while you melt the caramel.
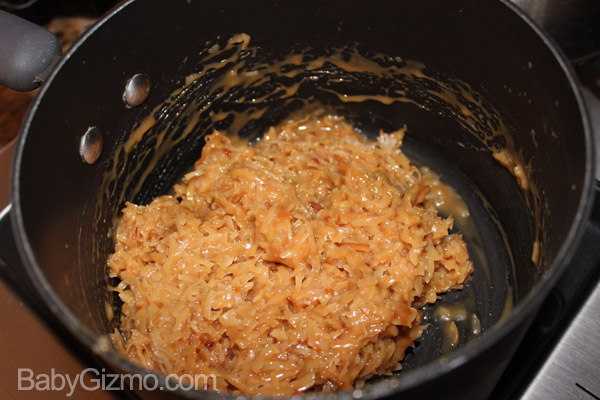
6. Place your unwrapped caramels in a large pot and add salt and milk. Cook over low heat stirring frequently until caramel has melted. Make sure you are watching this caramel or it will burn! When smooth, fold (same thing as stir!) in toasted coconut with a spatula.
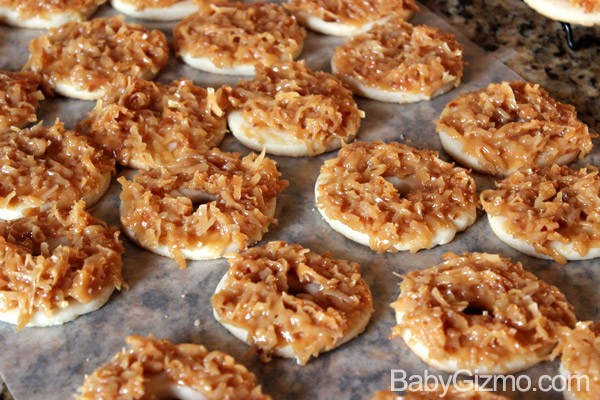
7. Using a knife, carefully spread topping on cooled cookies, using about 2-3 teaspoons per cookie. Don’t worry if you cover the center hole. It doesn’t change the taste of the cookies. Also, if the caramel mixture starts to harden or become difficult to work with while topping the cookies, just heat the remaining caramel mixture on the stove for a minute or two to re-melt.
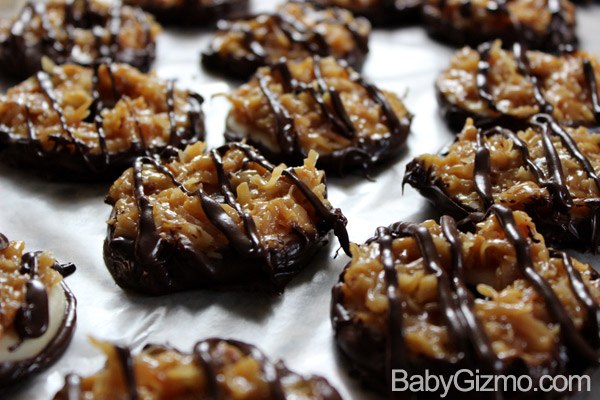
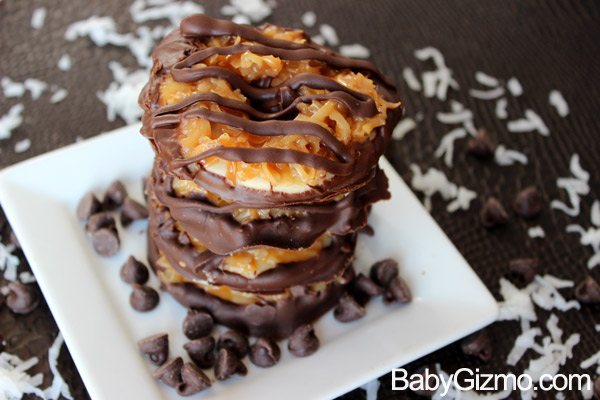
8. While you wait for the coconut to set on the cookies, melt chocolate in a double boiler or in the microwave. Dip the base of each cookie into the chocolate and place on a clean piece of parchment paper or waxed paper.

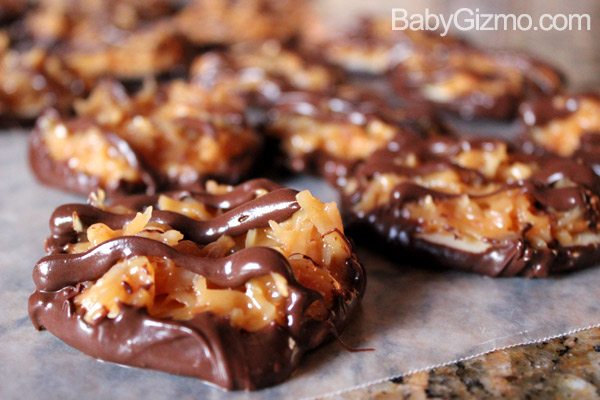
9. After each cookie is dipped, spoon remaining chocolate into a decorating bag (or in a sandwich bag with the corner snipped off – what I did!) and drizzle finished cookies with chocolate. Let chocolate set completely before storing in an airtight container. You can also freeze these cookies to enjoy later.
Recipe Adapted from Baking Bites
Homemade Girl Scout Samoa Cookie Recipe
Ingredients
- 1 cup butter softened
- 1/2 cup sugar
- 2 cup all purpose flour
- 1/4 teaspoon baking powder
- 1/2 teaspoon salt
- 1/2 teaspoon pure vanilla extract
- 1-2 tablespoons milk
- 3 cups shredded coconut
- 12 ounces chewy caramels
- 1/4 teaspoon salt
- 3 tablespoon milk
- 18 ounces dark or semi-sweet chocolate
Instructions
- Preheat to 350 degrees F.
- In a large mixing bowl, cream together butter and sugar. Add in flour, baking powder, salt and vanilla at a low speed. Dough will be crumbly. Add 1 tbsp of milk at a time to make the dough come together as a ball of cookie dough without being too sticky. If it gets to sticky, add a bit more flour.
- Separate the dough into two even parts. Working with one dough part at a time, roll the dough out with a rolling pin or side of a cup to about 1/4-inch thickness. Use a 1 1/2-inch cookie cutter (or biscuit cutter) to make dough rounds. Place on a baking sheet (preferably with parchment paper but I didn’t have any!) and use a knife or I used one of the Wilton decorating tips to cut a smaller center hole from the center of the dough rounds. Repeat with remaining dough.
- Bake cookies for 10-12 minutes, until bottoms are lightly browned and cookies are set.
- Cool for a few minutes on the baking sheet then transfer to a wire rack to cool completely.
- While cookies are cooling, preheat oven to 300 degrees. Spread coconut evenly on a parchment-lined baking sheet (again, I didn’t have any so it’s fine if you don’t use the parchment paper!) and toast 20 minutes, stirring every 5 minutes, until coconut is golden. Set aside and cool on baking sheet while you melt the caramel.
- Place your unwrapped caramels in a large pot and add salt and milk. Cook over low heat stirring frequently until caramel has melted. Make sure you are watching this caramel or it will burn! When smooth, fold (same thing as stir!) in toasted coconut with a spatula. Using a knife, carefully spread topping on cooled cookies, using about 2-3 teaspoons per cookie. Don’t worry if you cover the center hole. It doesn’t change the taste of the cookies. Also, if the caramel mixture starts to harden or become difficult to work with while topping the cookies, just heat the remaining caramel mixture on the stove for a minute or two to re-melt.
- While you wait for the coconut to set on the cookies, melt chocolate in a double boiler or in the microwave. Dip the base of each cookie into the chocolate and place on a clean piece of parchment paper or waxed paper. After each cookie is dipped, spoon remaining chocolate into a decorating bag (or in a sandwich bag with the corner snipped off – what I did!) and drizzle finished cookies with chocolate. Let chocolate set completely before storing in an airtight container. You can also freeze these cookies to enjoy later. Makes approx. 3 1/2 dozen cookies
Thank you for this recipe! I love these but can’t have chocolate anymore. Now I can modify this recipe and make a carob version. 🙂
do you think that if we don’t cut out the hole in the middle- that they will bake properly?
that’s just an extra step that i’m willing to skip…and it also means MORE COOKIE!!